
The Anatomy of a Refurbishment
Ask most people what happens during a refurbishment and the honest answer is a shrug: builders arrive, dust happens, and some months later there is a beautiful house. The middle is a mystery — and mysteries are where worry lives. So here is the middle, explained. Every project has its own programme, and a staircase renewal runs to a different clock than a whole-house transformation. But the sequence barely changes, because it is governed by logic older than any of us: you cannot paint what isn’t plastered, plaster what isn’t wired, or wire what isn’t stripped. What follows is the anatomy of a typical substantial refurbishment — what each phase is for, what you’ll see, and just as importantly, what you won’t.
Before anyone lifts a tool
The most valuable weeks of a refurbishment happen before it starts. Surveys are completed, the scope is fixed line by line, long-lead items are identified, and the programme is written — a real one, with dates, that the payment schedule then follows. Protection goes in before demolition ever begins: floors boarded, retained features wrapped, dust screens sealed. On our projects the health and safety plan is in place before day one, quietly, because that is simply how it’s done.
What you’ll see: paperwork, measuring, and people looking thoughtfully at walls.
What it’s for: getting everything right before it becomes far more expensive to put right.
Weeks 1–2 — Strip-out: the honest week
Strip-out is fast, loud and strangely satisfying: the house is taken back to the point where work can begin, and skips fill at a rate that never quite repeats.
It is also the week the building tells the truth. Behind plaster and under floors is the only place a survey cannot fully reach, and whatever is found — historic repairs, tired joists, surprises good and bad — is found now, at the start, when there is time and budget structure to deal with it calmly. A well-run project treats strip-out as an inspection as much as a demolition: what’s exposed gets examined, recorded and priced before it’s covered again for another fifty years.
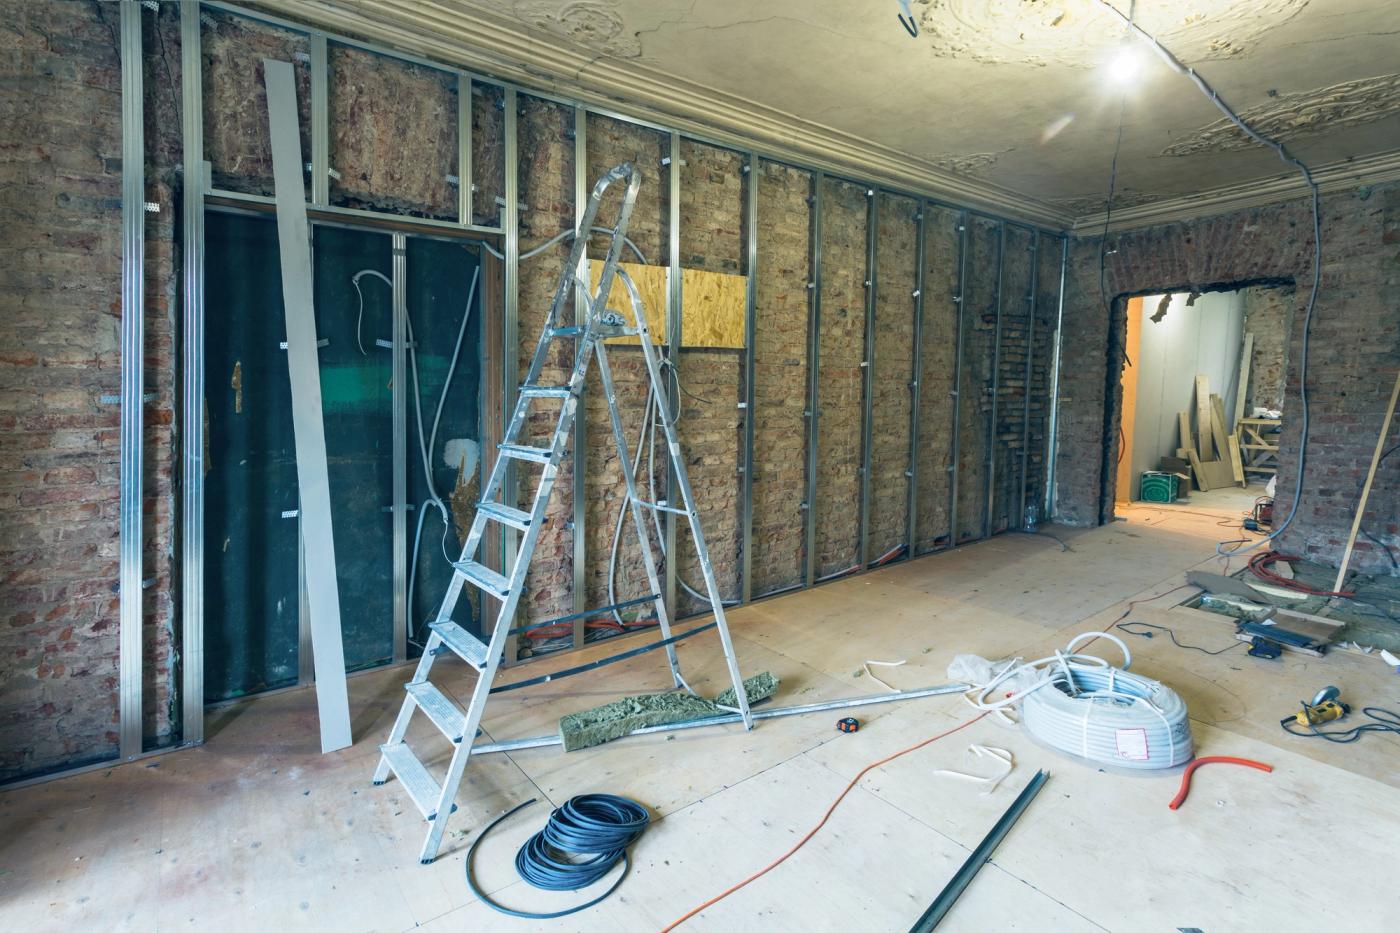
Weeks 3–5 — First fix: the hidden project
Now the house fills with trades and, paradoxically, starts to look worse to the untrained eye. First fix is everything that must live inside the walls and floors: structural work, new wiring runs, pipework, ventilation, the carcassing for joinery. It is the project’s engineering heart, and almost none of it will ever be seen again.
This is also when the building inspector makes key visits — checking the structural work and the things about to be concealed. It’s worth knowing that a good programme wants those visits; they are how quality gets witnessed while it can still be seen.
A homeowner’s tip for this phase: walk the house before the walls close. Photograph everything. Where a pipe runs and where a cable crosses is knowledge worth having for the next thirty years — and on our jobs it goes in the handover file regardless.
Week 6 (or thereabouts) — The quiet week
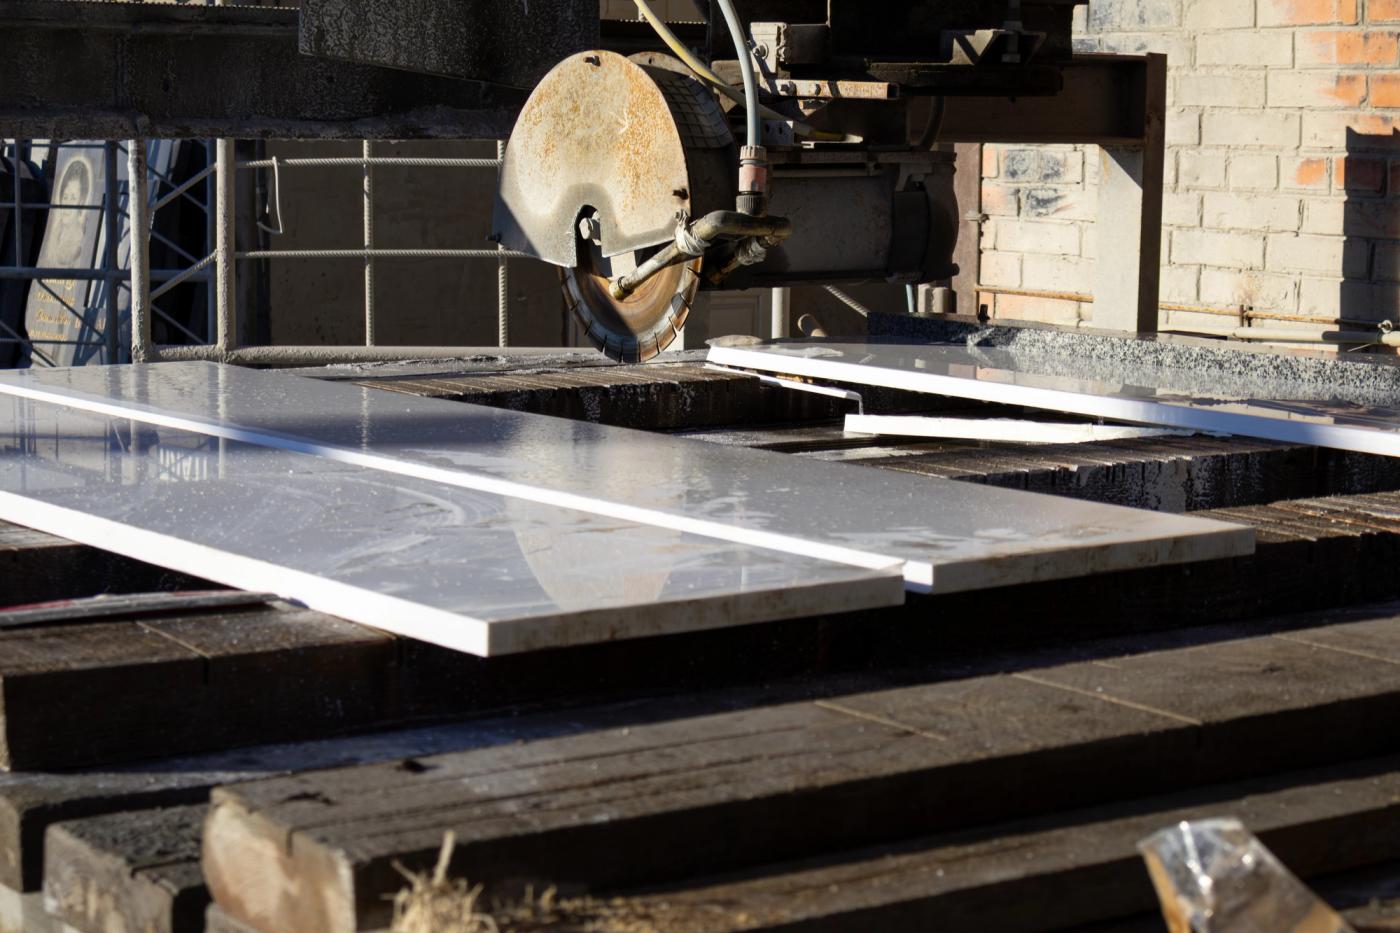
At some point after plastering, the project appears to stop. Fresh plaster must dry properly before it can be sealed and decorated — days per coat, longer in winter — and rushing it is how paint fails a year later. Meanwhile, made-to-order items are in fabrication elsewhere: joinery in the workshop, stone being cut, that staircase being engineered.
A quiet site tends to worry homeowners more than a noisy one, so it is worth saying plainly: the quiet week is on the programme. Nothing has stalled: the plaster is curing and the workshop items are being made, and both simply take the time they take. We tell clients about this week before the job even starts, so nobody spends it wondering if something has gone wrong.
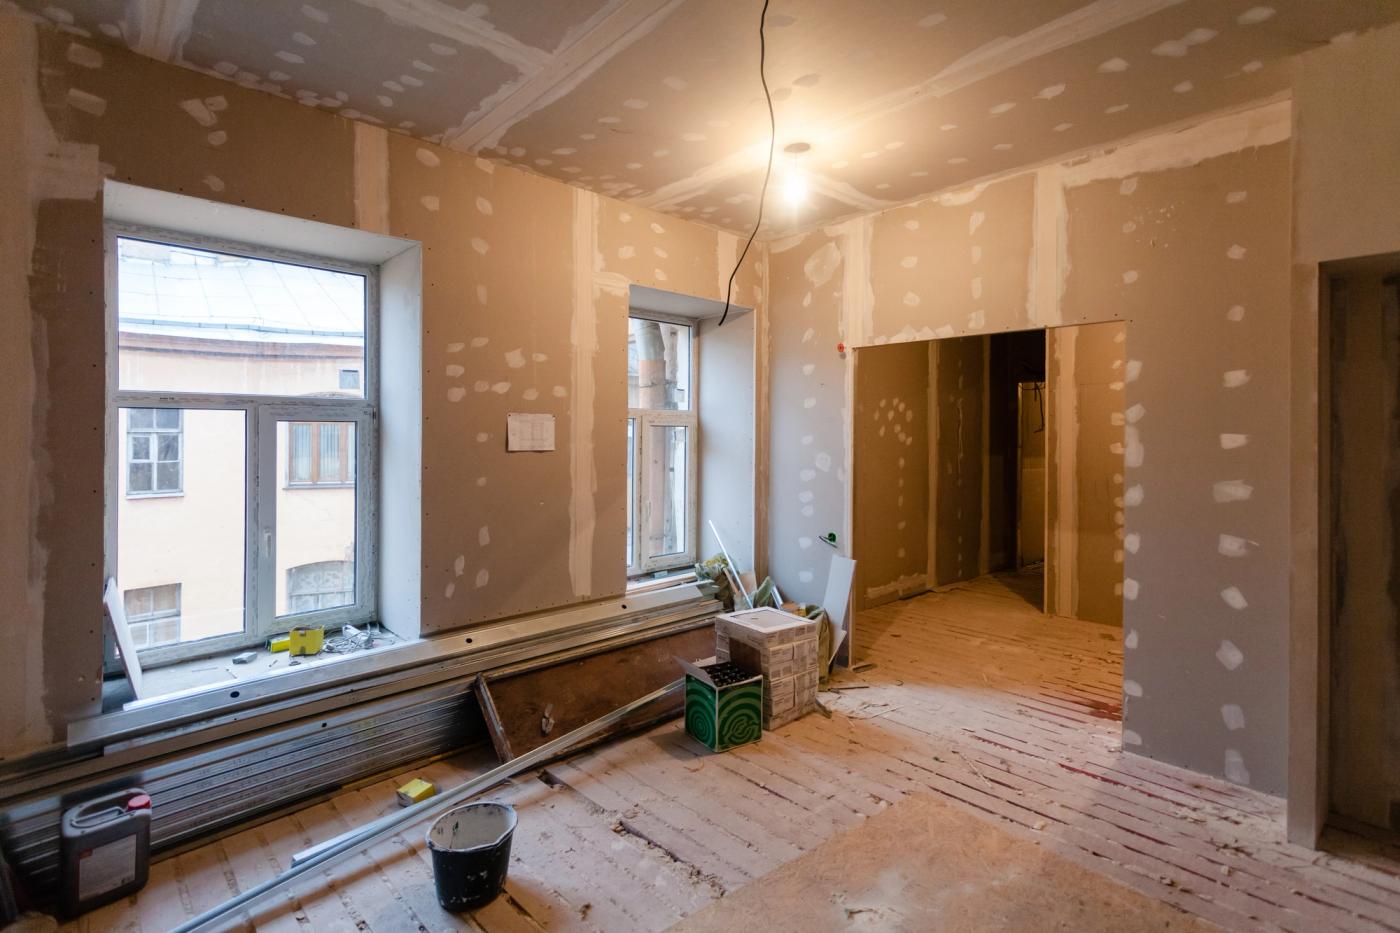
Weeks 7–10 — Second fix: the house comes back
Second fix is the reward for everything hidden. Sockets and switches land on the walls, sanitaryware goes in, doors are hung, skirtings and architraves run, the kitchen arrives, and the house recognisably becomes itself again — usually faster than seems possible, because all the slow work already happened underneath.
Decoration follows in its own strict order — woodwork, ceilings, walls — and the trades thin out as precision takes over from pace.
The decisions calendar
Here is the piece of the anatomy nobody tells you about: your decisions have dates too. Kitchens, sanitaryware, tiles, ironmongery and light fittings all carry lead times, and each has a point on the programme by which it must be chosen for the project to keep moving. A well-managed project gives you that calendar at the start — which choices are needed by when — so decisions are made with coffee and consideration rather than under a deadline on a Tuesday. If there is one thing to ask any builder before starting, it’s for this list.
The final weeks — Snagging and a proper handover
The end of a refurbishment isn’t a keys-back moment; it’s a process. The work is inspected room by room against the scope — the snagging list — and each item closed off. Then comes the part that separates a finished project from a merely stopped one: the handover file. Operation manuals, certificates for the electrical and gas work, guarantees, paint schedules, those first-fix photographs — the complete biography of the work, handed over in order. It is the document your future self, and your home’s next owner, will thank you for.
Commissioning, a deep clean, a walk-through of everything installed — and then, at last, the house is quietly yours again, better than before.
That is the whole anatomy. There is no mystery in it, only a sequence, and a good builder will happily pin their version of it on the wall and hold themselves to it.
Thinking about a project of your own? We are always glad to talk it through, with no obligation either way.
Start a conversation